
Protected Shrimp
After completing the Minimal Shrimp and getting it to Blink, a few extra components might be needed if you want it to substitute for an Arduino Uno in a deployed project. The Protected Shrimp Build offers step-by-step instructions to add these extra elements. Official Shrimp kits always include these components as standard.
In practice, we use the Minimal Shrimp build all the time. It has fewer components and is less fiddly when leading large classes of learners. However it doesn't include...
- a Reset button
- a stable Crystal circuit
- a stable Power circuit
...which would be ideal for a deployed project.
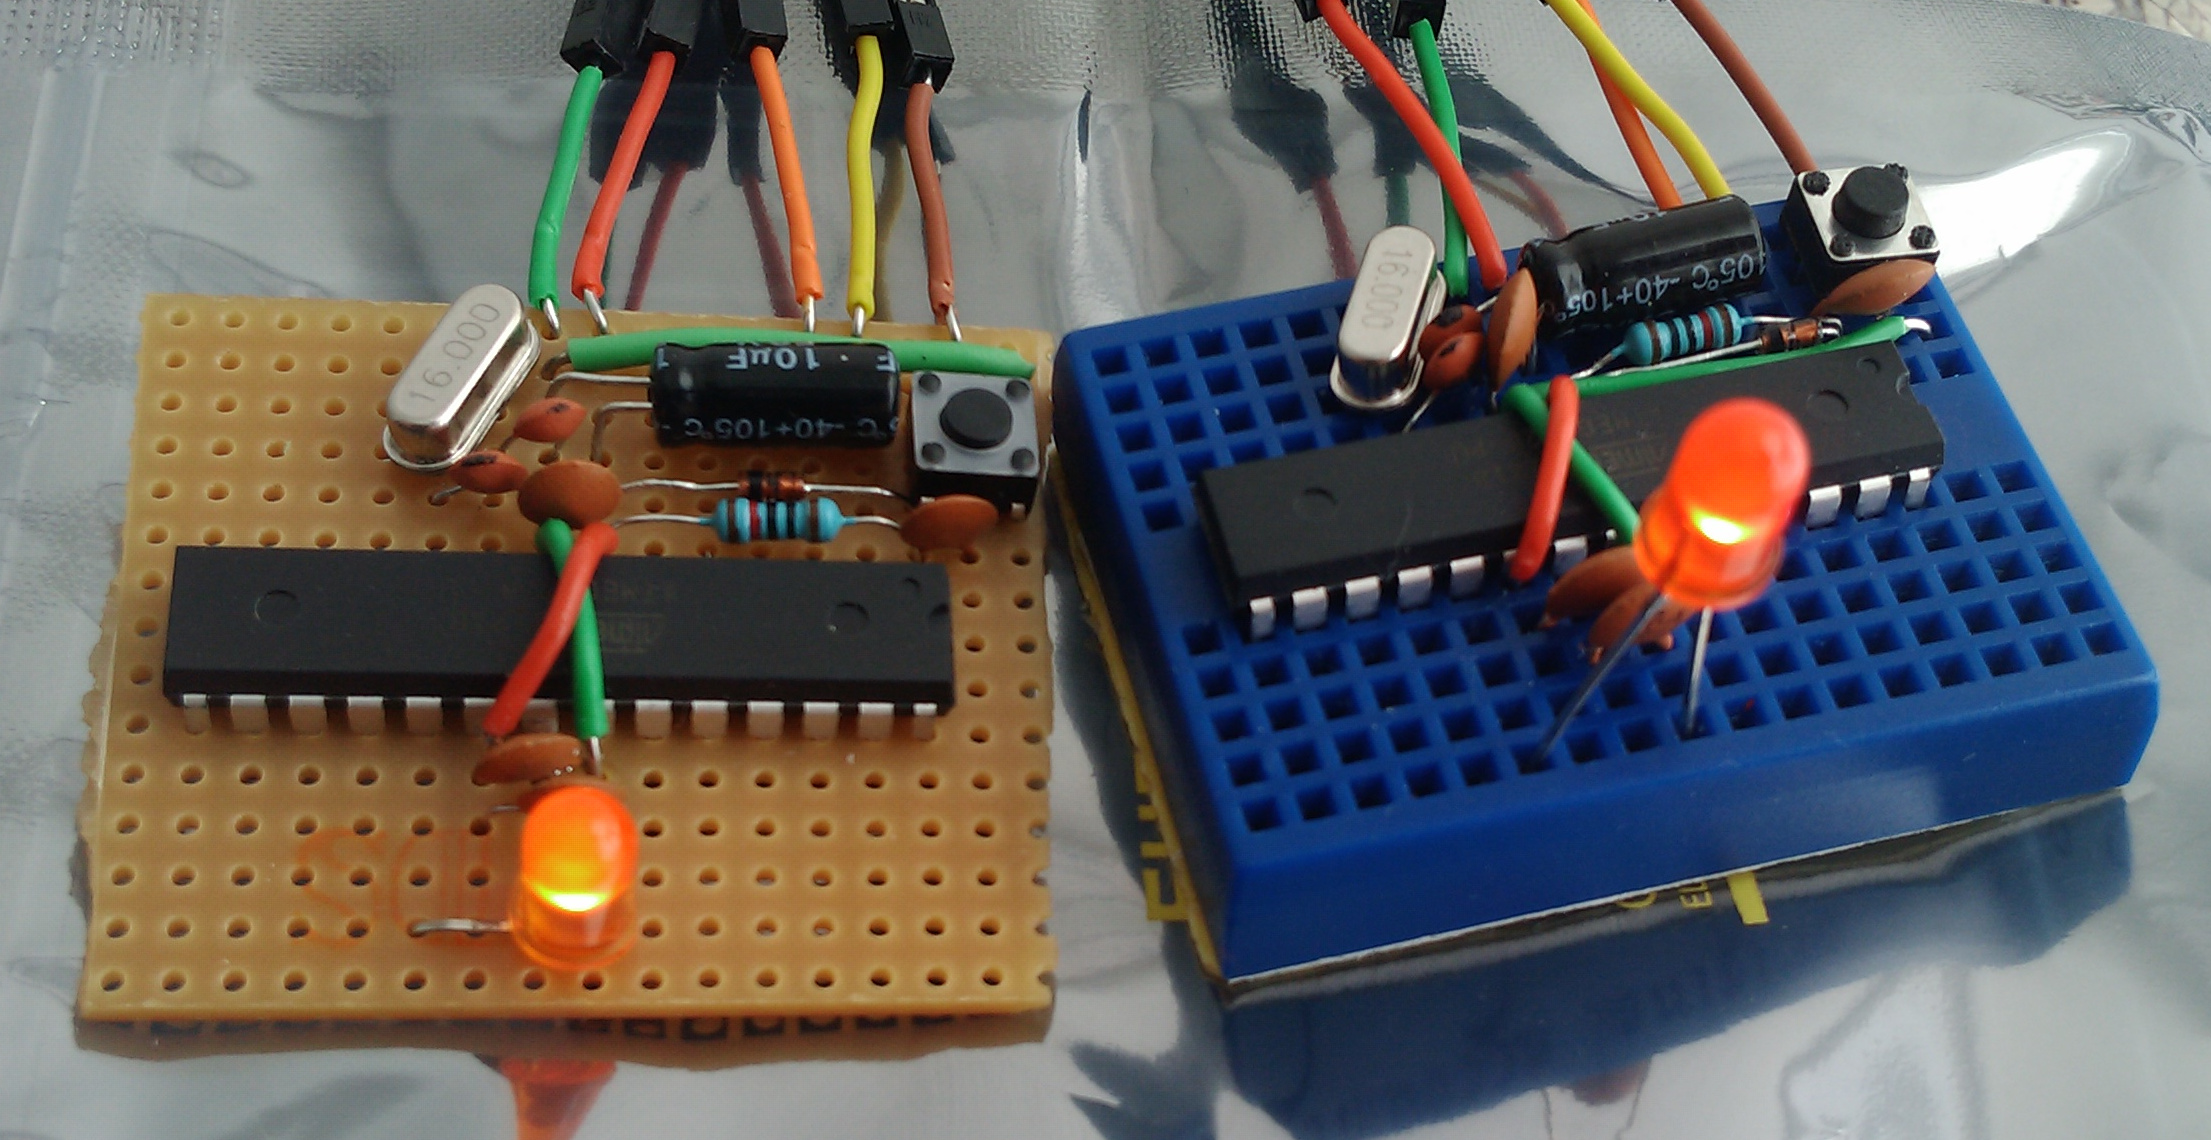
Minimal Shrimp vs Protected Shrimp
A reset button allows you to reboot the Shrimp at any time. While prototyping in workshops we unplug and replug the +5V wire to reboot, but this may not be convenient for your application in the field.
A stable crystal circuit includes extra capacitors alongside the crystal, which ensures that the oscillation of the crystal is as accurate and predictable as possible. In workshops we omit these capacitors without consequences, and rely on the latent capacitance of the breadboard.
A stable power circuit is achieved by protecting the ATmega with a few extra capacitors. Serious electrical noise and dips in power might be generated by motors, static electricity or other nearby sources depending where you deploy your project. When workshopping digital behaviours (e.g. flashing lights, sensing buttons, beeping piezos, emulating a keyboard) we omit these components without consequences, as we expect a stable environment.
Protected Shrimp vs Arduino Uno
The Protected build can be substituted for an Arduino Uno in most projects (in fact it is almost an identical circuit, and has the same 'bootloader' software on the chip). However, the Protected Shrimp still doesn't have
- an inbuilt UART
- a Power Regulator
Without an inbuilt UART we rely on a cheap external USB Uart Module when programming and sending Serial messages to our Shrimp Projects. This also means you can remove the UART when you are not using it, saving money (they can be shared between projects or between learners), and avoiding the extra power and complexity of the USB circuit.
Without a power regulator we need to take responsibility for providing a power supply of between 3V and 6V. This can be delivered by...
- A Lithium battery at ~3.7V
- Four NiCd or NiMh batteries at ~4.8V
- Three Alkaline batteries at ~4.5V
- a USB power supply at ~5V
...meaning you can choose the power supply suited to your project.
Since we avoid using a power regulation circuit, it is feasible to run a well-designed Shrimp project for several years off a small battery pack by using the ATmega's low power modes, such as this sketch; an example from our AlarmClock Project.