
Programming Shrimps: Configuring your computer
Before uploading our Arduino sketches (programs) to a Shrimp circuit, three system-configuration steps are needed (detailed instructions below)...
1) Download our Sketches
2) Install USB Module drivers
3) Install Arduino IDE
After these system configuration steps, launch the Arduino IDE (Integrated Development Environment) and use it to...
4) Select the right Sketchbook, Board and Serial Port
5) Upload a Sketch to your circuit
Once configured, sketches for all our projects should appear in the Arduino IDE under File=>Sketchbook=>shrimpingit.
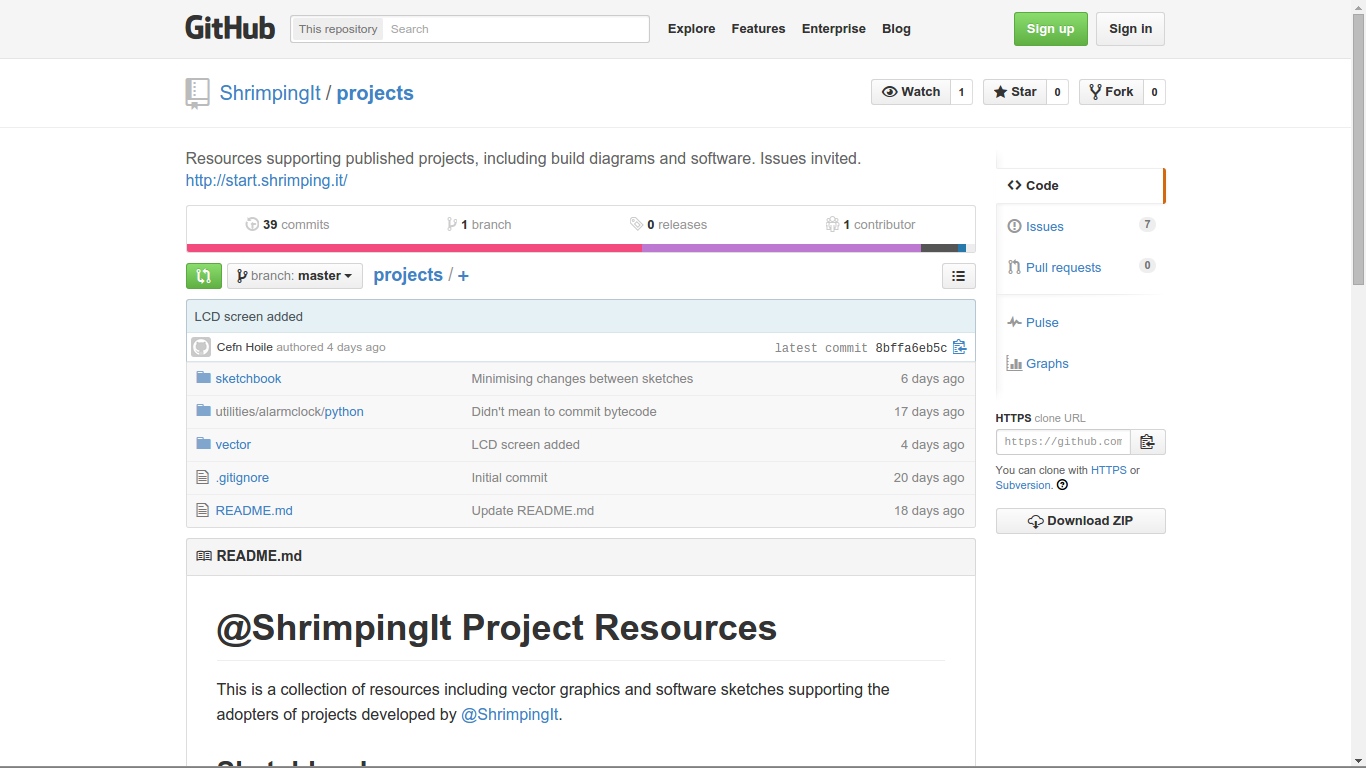
1) Download Our Sketches
Visit the @ShrimpingIt projects repository to find a folder containing the programs and libraries for all our @ShrimpingIt projects, intended for the Arduino IDE version 1.6.3 or above. If you have never used git you can simply click on the 'Download Zip' button to download a snapshot of the git repository and double-click on it to open the zip. When you see the contents of the zip appear, drag the folder called project_master to a memorable location in your computer, such as the Desktop.
2) Install USB module drivers
CP2102 module drivers are available for for...
After installing new drivers, it is a good idea to restart your machine to ensure everything works.
Linux distributions include built-in CP2102 drivers, although Linux user accounts may need membership of the 'dialout' or 'serial' permission groups to access the device.
If your machine is running an old or specialist operating system, then browse http://shrimping.it/drivers or the Silabs driver page to find alternate driver versions.
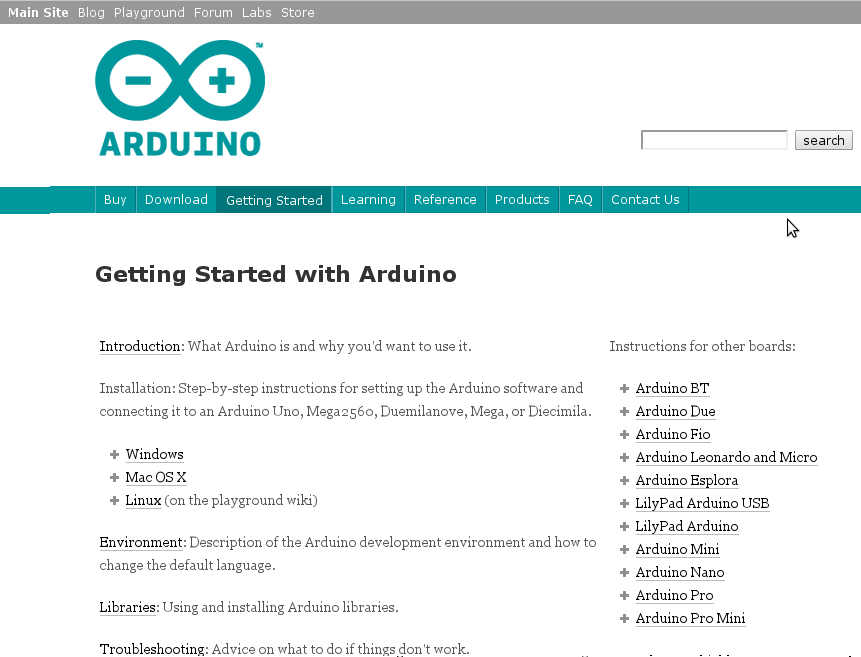
3) Install Arduino IDE
We use an unmodified Arduino IDE to upload programs to the Shrimp. Instructions for installing the Arduino IDE are available for...
4) Select the right Sketchbook, Board and Serial Port
Click on File=>Preferences in the menu of the Arduino IDE, then click 'Browse' to choose your "Sketchbook Location". Navigate to the memorable location you chose in step one to extract our sketches and drill down, selecting our folder called 'sketchbook'. After completing this step, close all Arduino IDE windows, then restart the Arduino IDE.
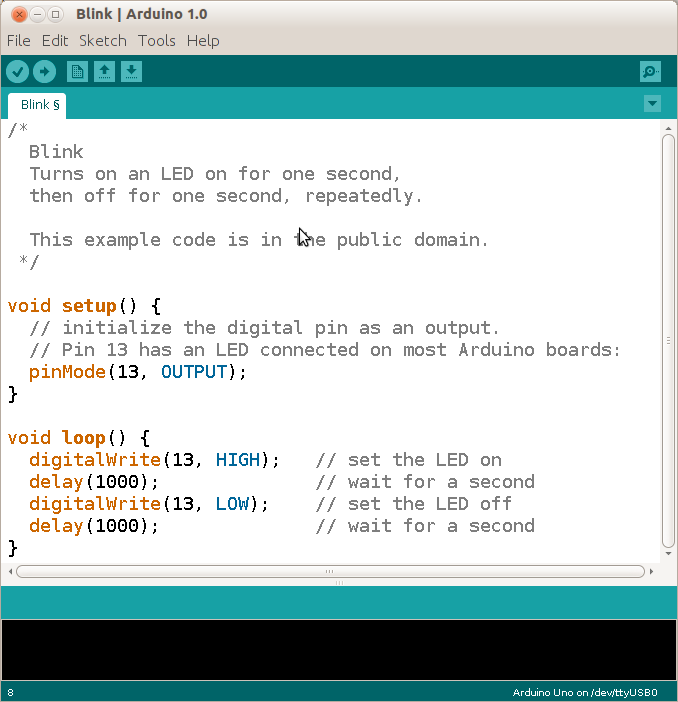
A Shrimp is binary- and pin-compatible with an Arduino Uno. Click on 'Arduino Uno' under Tools=>Boards in the Arduino IDE. A dot should appear next to 'Arduino Uno' to show the right configuration is selected.
Closing and reopening the Tools=>Serial Ports menu in the Arduino IDE refreshes its list of known serial ports. If you have completed step 2 properly, a new serial port should appear in the menu soon after you plug the CP2102 into a USB port, and it should disappear when you unplug it. Click on that 'serial port' to select it. A tick should appear next to the port to indicate that the Arduino IDE will use it for uploading programs and serial monitoring. Linux and Mac machines have port names like "/dev/ttyUSB0". Windows machines have serial port names like "COM1" and "COM2". In some Linux systems a new serial port is allocated every time you unplug and replug, so sadly you have to reselect it every time.
5) Upload a Sketch to your circuit
To run any of the sketches on your Shrimp you need to find it under File=>Sketchbook=>shrimpingit and click on it. Once the code appears in the editor you can click on File=>Upload, hit CTRL+U or click the 'Right Arrow' symbol in the top menu bar to send it to your Shrimp.
Eventually it should report 'Done Uploading' without any red error text appearing at the bottom and your circuit should start performing.
Troubleshooting
If Red error text is appearing at the bottom when you upload a Sketch, it could be...
- A compiler error; probably something wrong with the installation of our sketchbook and libraries. Check you are using a version of Arduino IDE of 1.6.3 or above. If so, then revisit step 1 and the first part of step 4.
- An error in USB module configuration. If the Serial Port with the tick next to it appeared and disappeared properly in step 4 then the USB module is probably configured OK, otherwise revisit step 2 and the last part of step 4.
- If there's an upload error check you have selected Tools=>Boards=>Arduino Uno in the second part of step 4. If there is still a problem, then probably your circuit doesn't correspond exactly with the diagram. Re-check the position and orientation of all the components, then try our circuit troubleshooting steps.
If you still need our help, get in touch and...
- email well-focused close-ups of your circuit from a few angles
- describe in prose what happens when you try to complete the step you're stuck on.